
Creating a Project
Projects help you manage and track documents, questionnaires, and team collaboration across their lifecycle.
- Create Project: Under Projects tab from your workspace home screen, click Create Project.
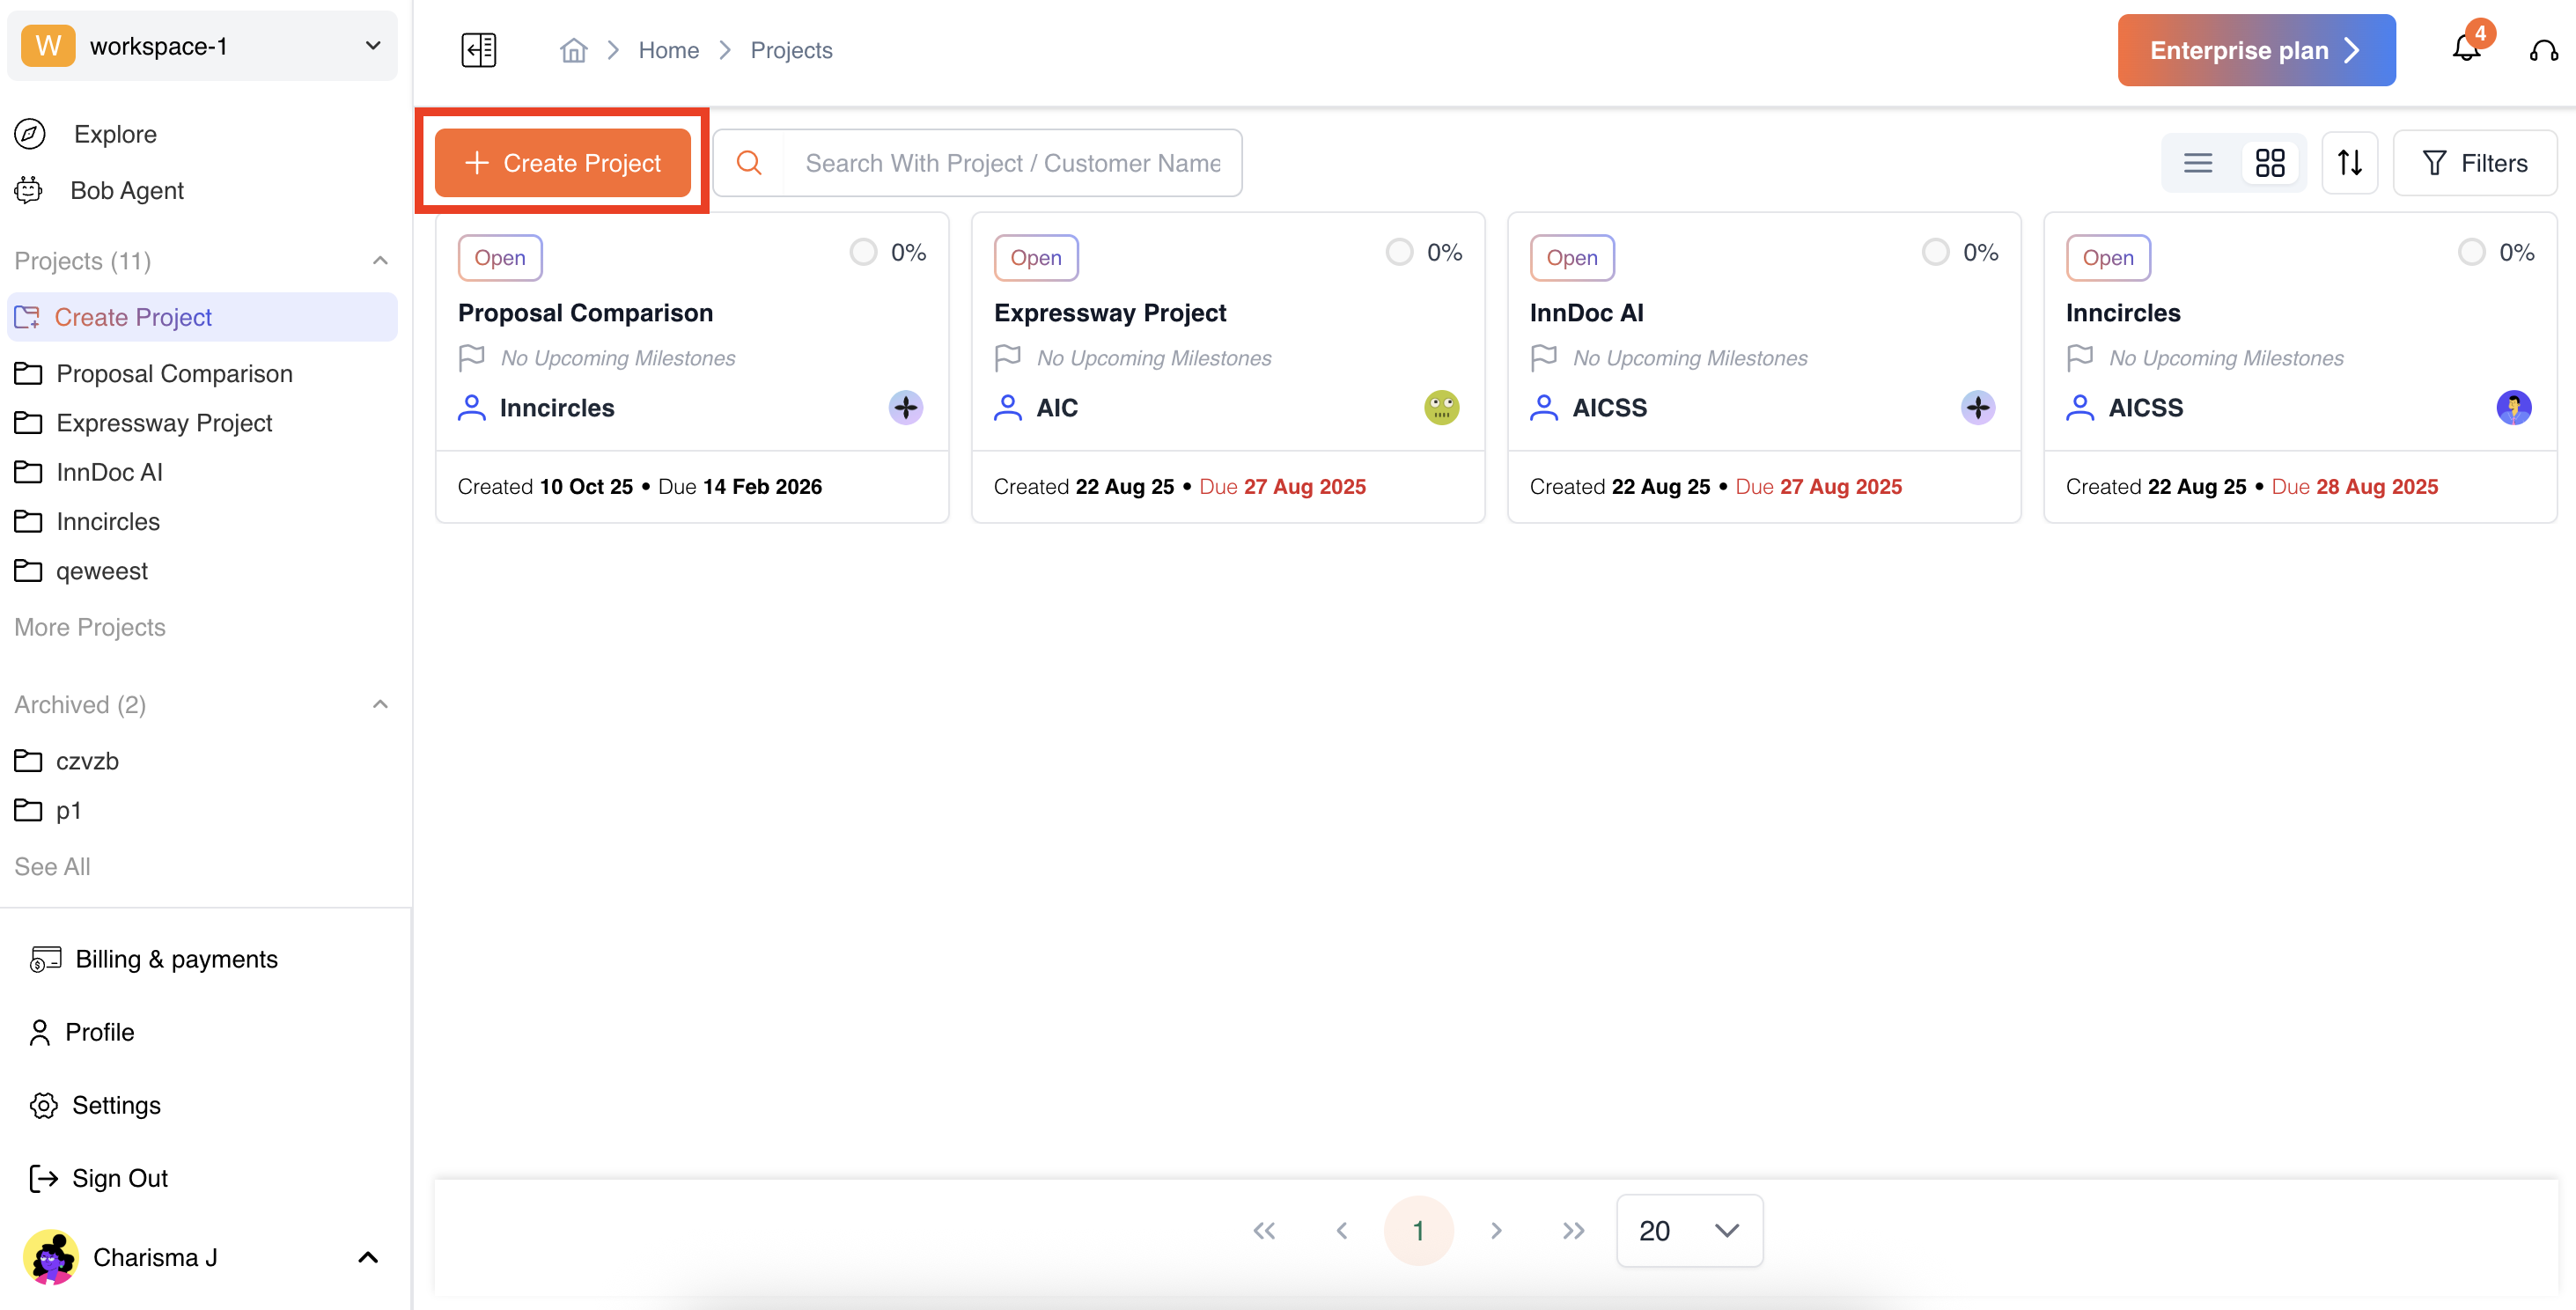
-
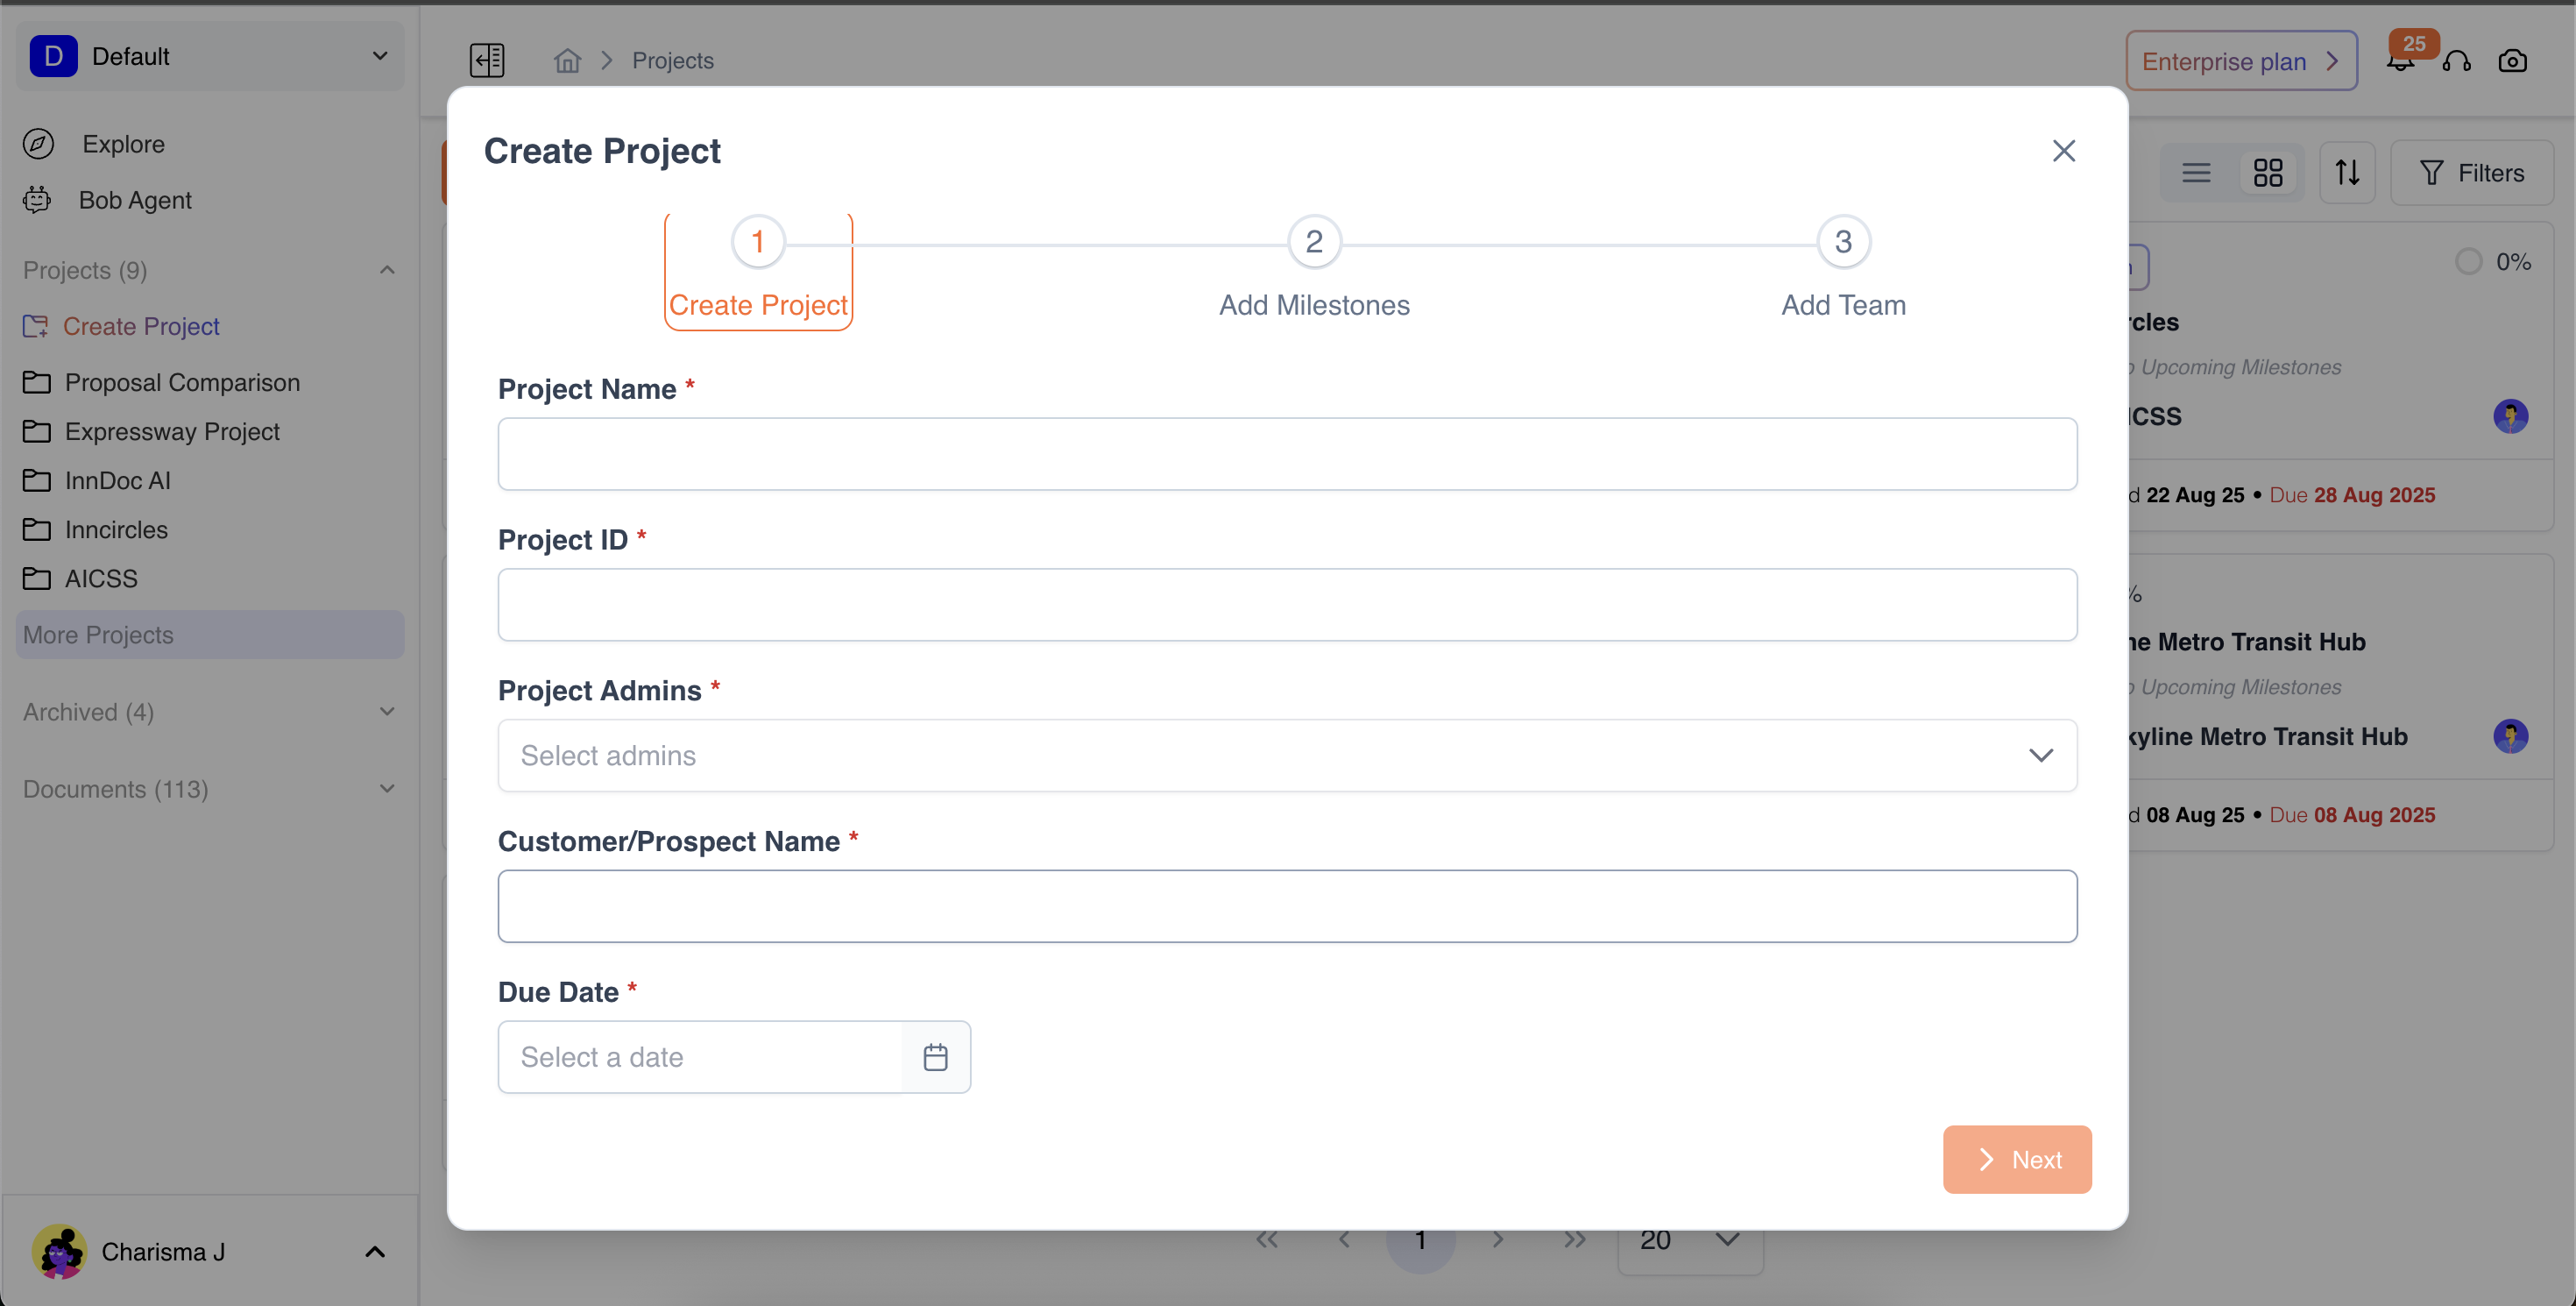
Fill in the following details:
- Project Name (Required)
- Project Manager
- Customer/Prospect
- Due Date of the projects
- Optional: Mark it as a Test Project to show [Test] beside the project name. This indicates that the project is only for internal testing.
- Click Next to proceed
- Add Milestones: Milestones are key checkpoints or goals within a project that help your team track progress and stay on schedule. Each milestone can have:
- Name/Title: What the milestone represents (e.g., “Questionnaire Upload Complete”)
- Due Date: When this milestone should be achieved
- Reminder (optional): Notify team members ahead of the milestone deadline Refer here for more details on how to set milestones.

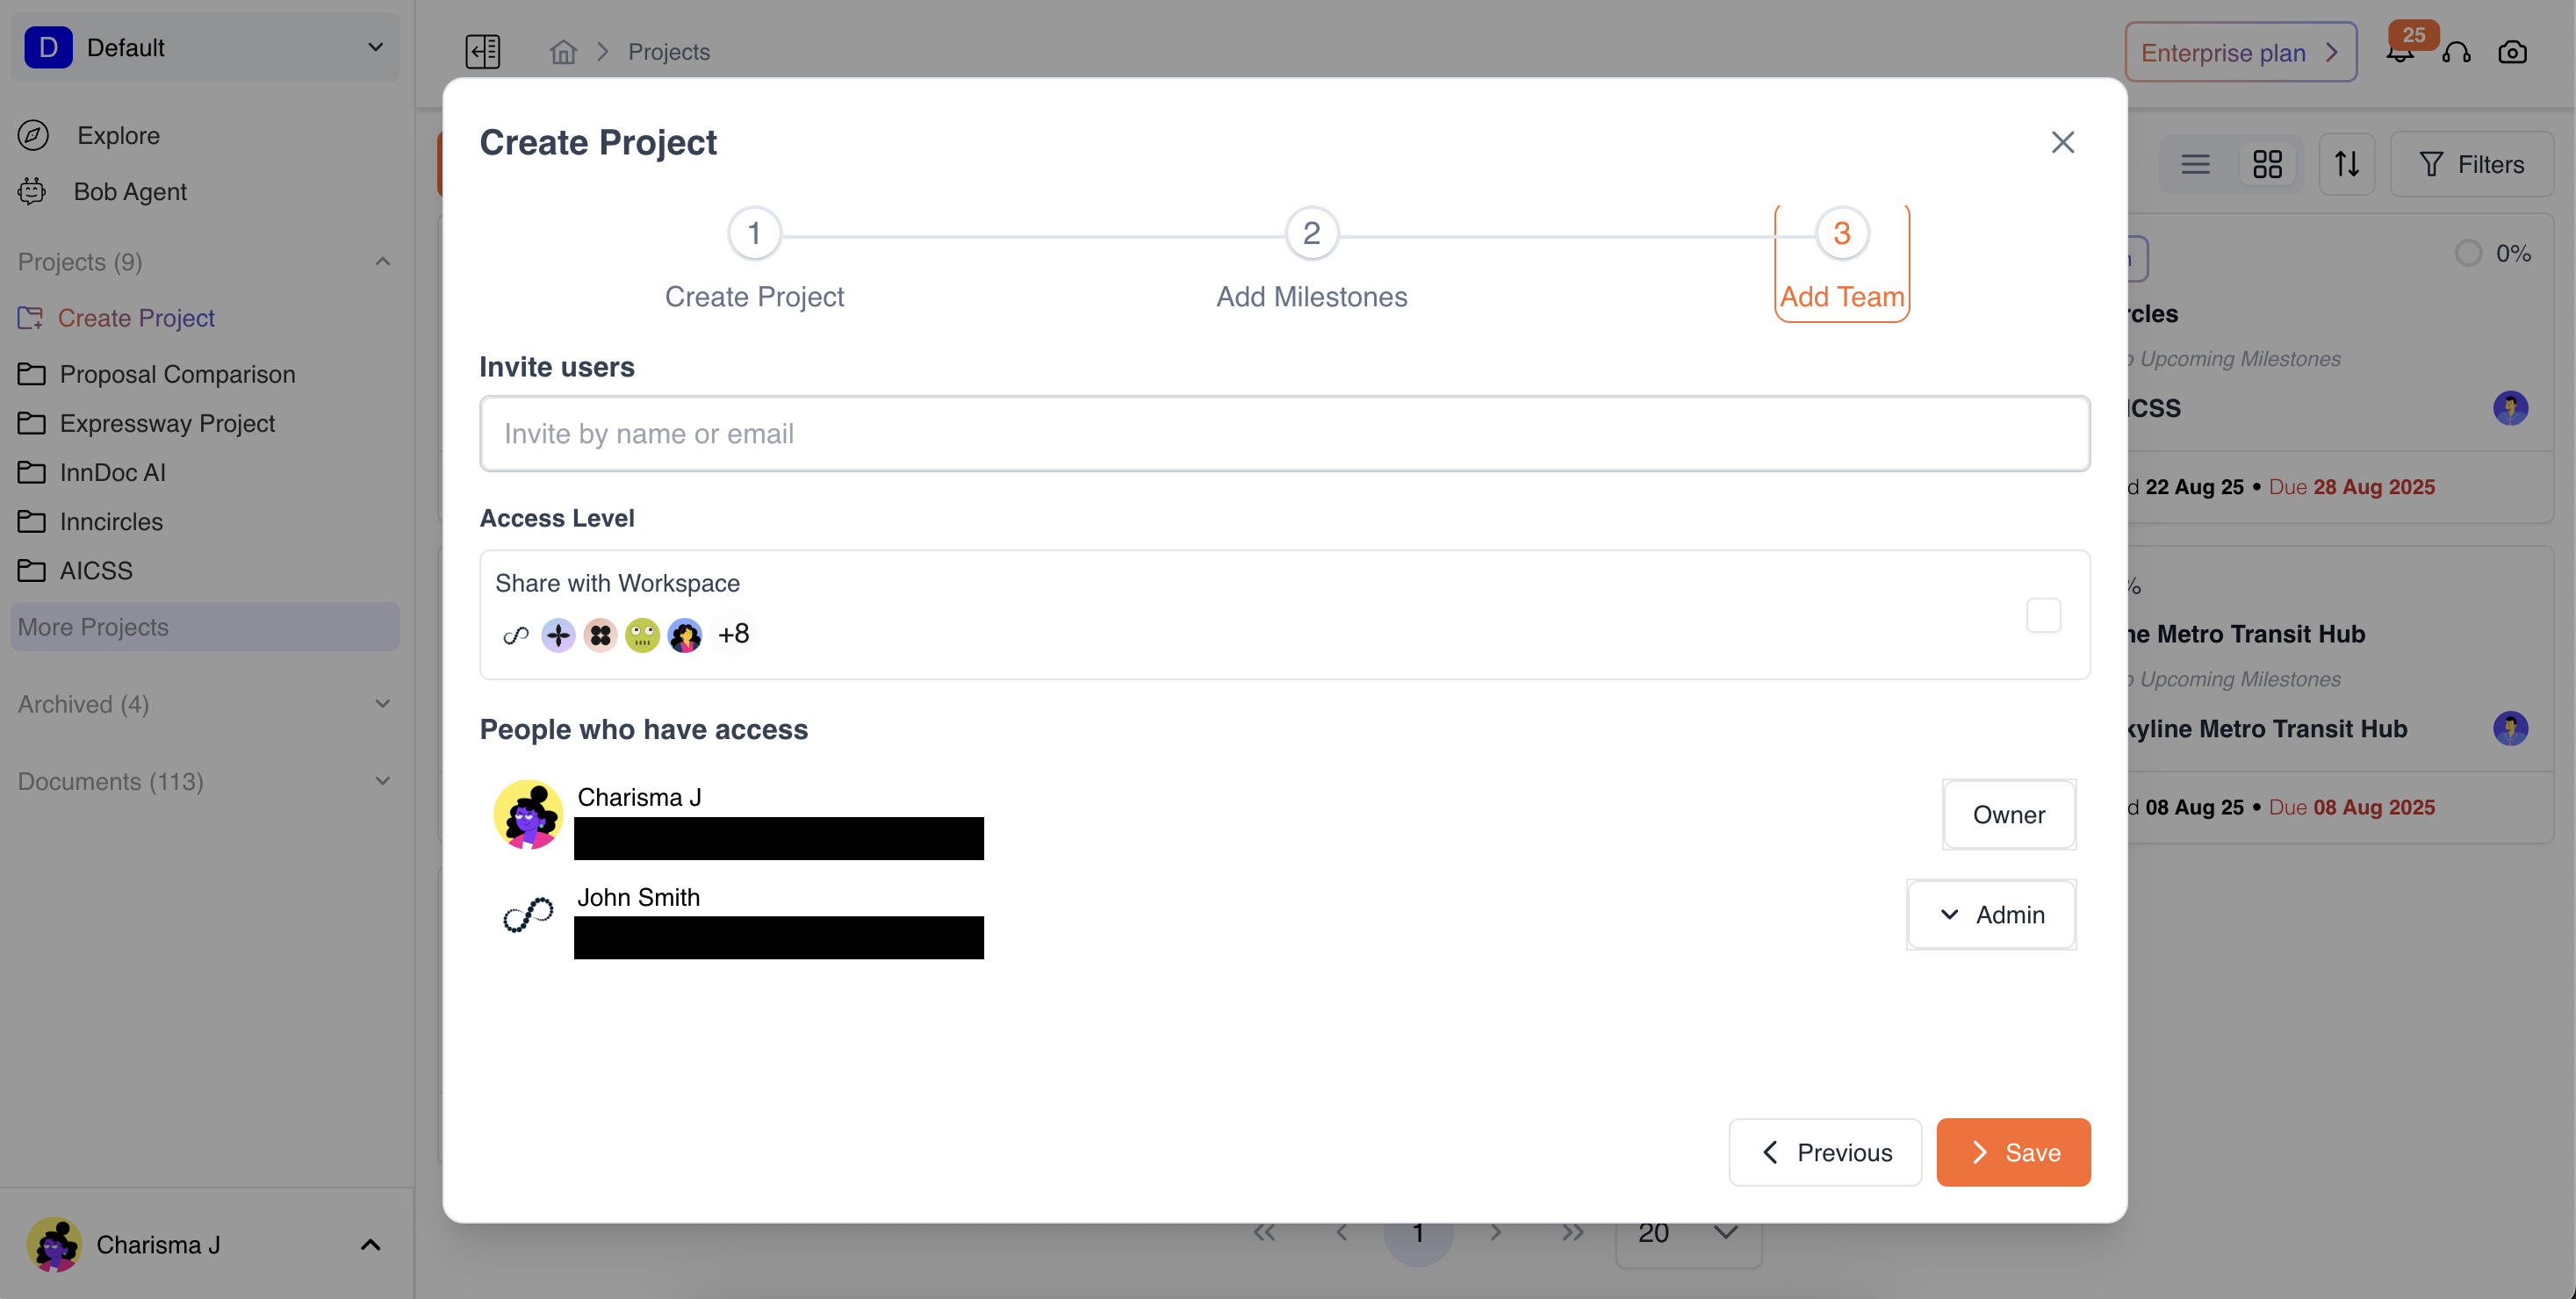
- Add Team / Collaborators
- Search for existing users in your organization directory and assign roles to them respectively. Choose a role for each team member:
- Project Admin: Full control within the project, they can edit project details, add documents and edit all the documents within the project by default unless the access level is restricted at the document level.
- Project Editor: Can edit documents and answer questionnaires present within the project by default unless the access level is restricted at the document level.
- Project Commenter: Can add comments on all documents present within the project by default unless the access level is restricted at the document level.
- Project Viewer: Can only view project documents and progress by default unless the access level is restricted at the document level.
- Access Level: Check this box to optionally grant the Workspace users access to this Project.
- Search for existing users in your organization directory and assign roles to them respectively. Choose a role for each team member:
Video Reference - https://app.guidde.com/share/playbooks/uDJi6GGBbHo23LQujc2FgX?origin=CLhuhyWU58WFuigCugTh3i3jhGs2
Updated 4 months ago